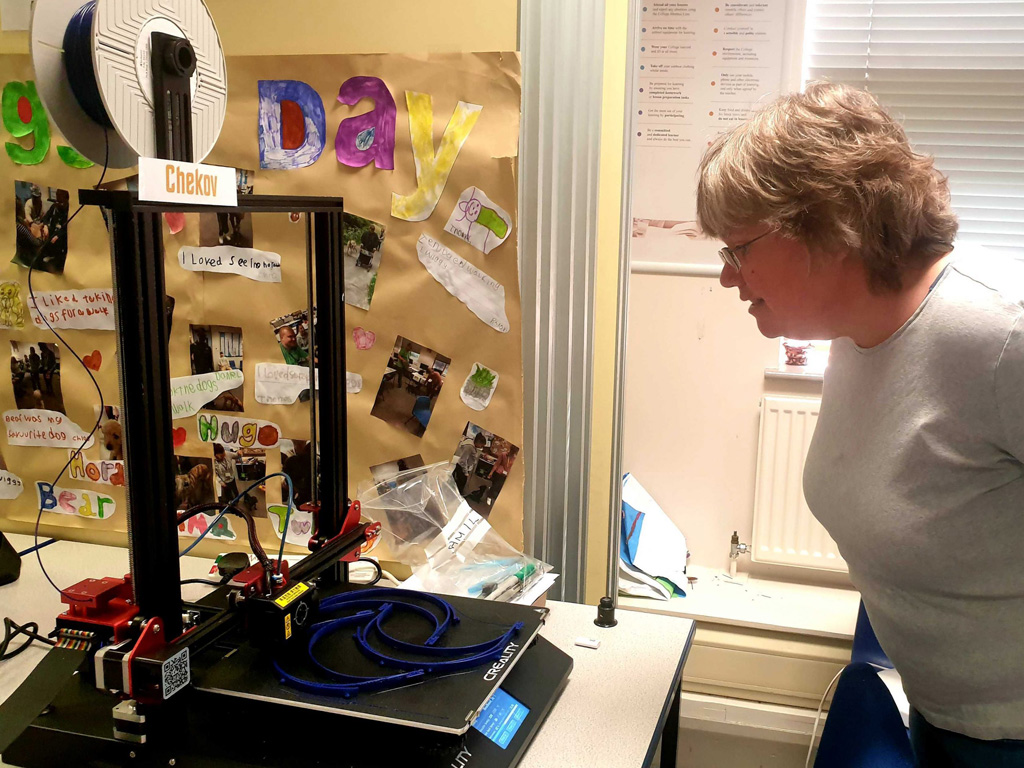
For almost two months, we’ve turned our hands to 3D printing protective face shields for local keyworkers, to fill the gap in supply which has left many vulnerable.
Using our making skills acquired from tinkering and running our after-school sessions, we’ve been able to rapidly establish a print farm. So far we have produced over 1500 (and counting) pieces of personal protective equipment.
Donate to cover our costs here
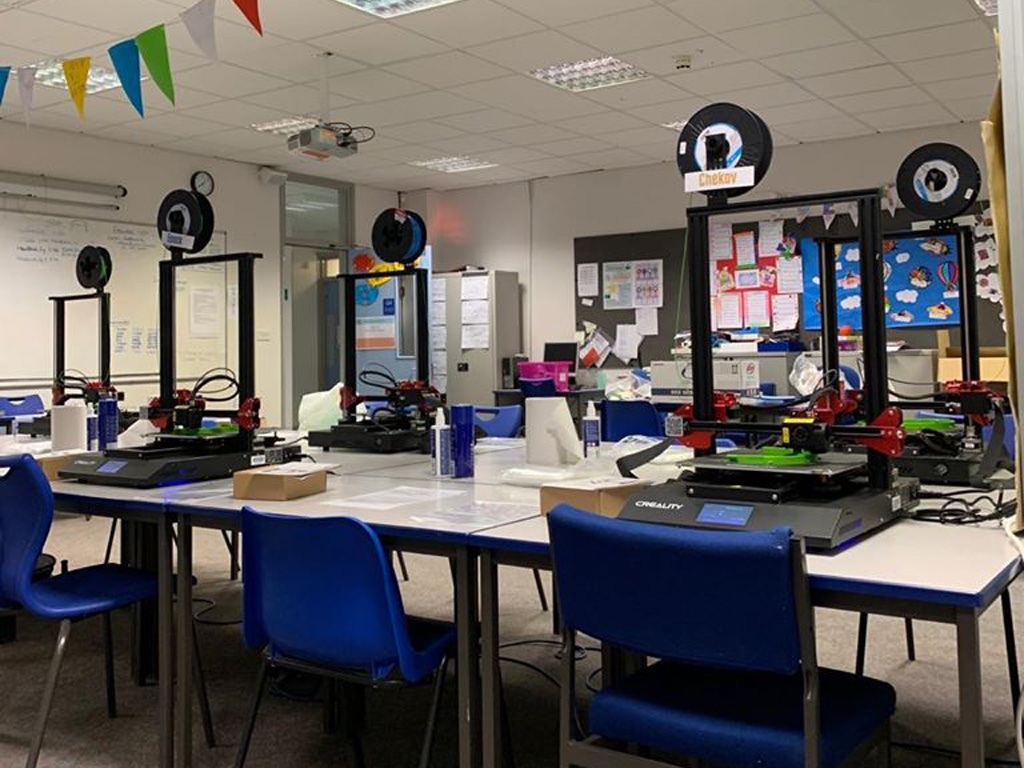
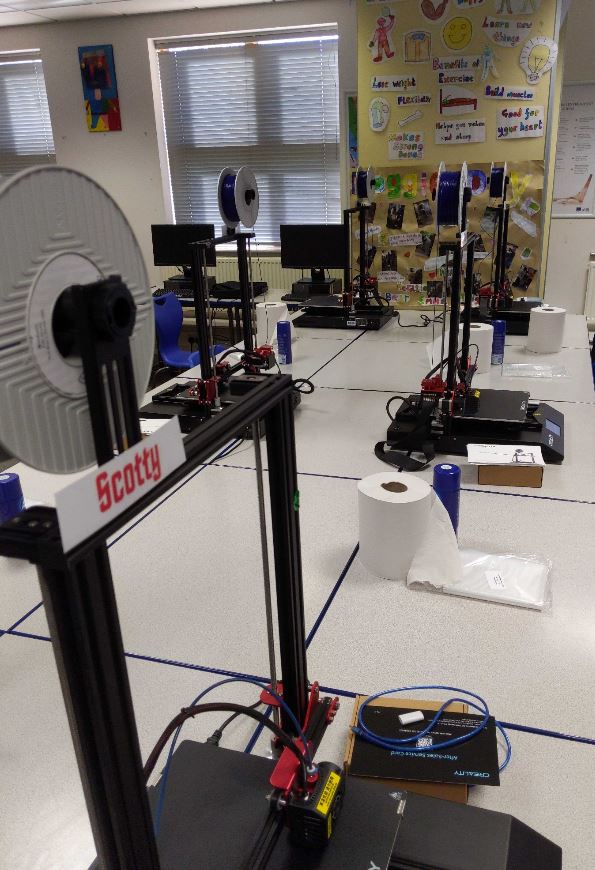
We first wrote about setting up our print farm in early April, and purchased six identical machines for the job. Our model of choice was the Creality CR-10S Pro, and you can read our review here. For printing smaller pieces, we’ve also used our Up Mini 2.
Below is a look inside the print farm – the process from start to finish. We couldn’t have done it without the help of our fantastic volunteers. Throughout we take care in following social distancing and hygiene practices. These include ensuring a 2 metre distance between everyone working on the farm, regular cleaning of tools and touchscreens, and shift patterns to keep the number of people on site at any time low. Any collections are done outside and at a safe distance.
Preparing the model
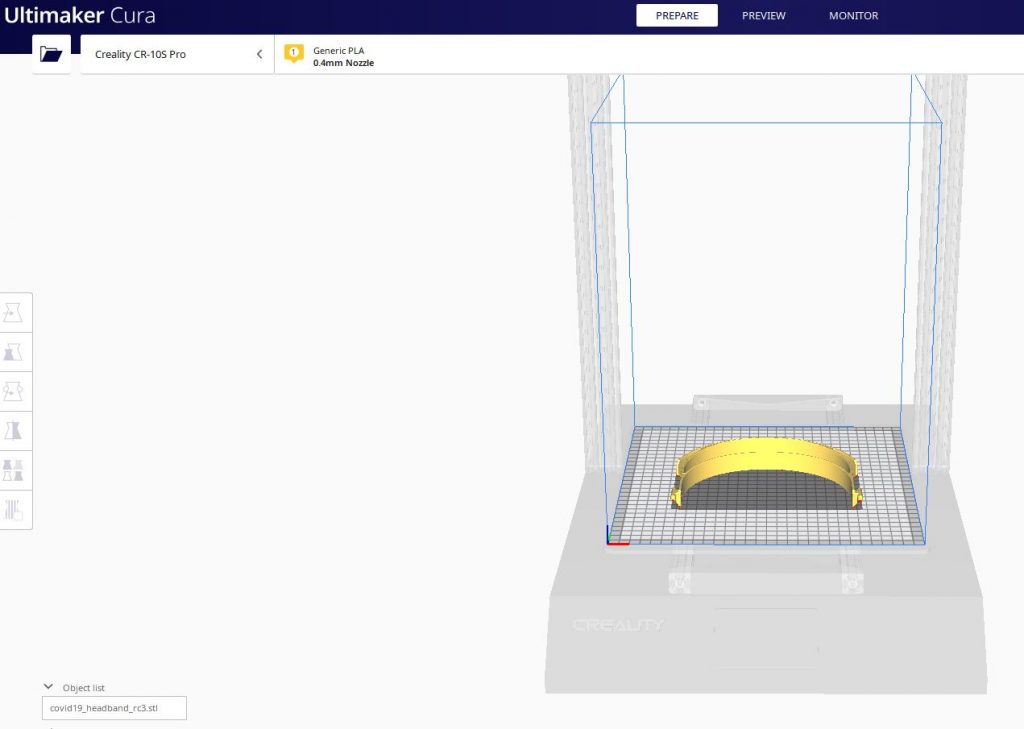
The first step in the printing process is making a ‘.gcode’ file for the model. We’re using a standard Prusa RC3 model. This is robust and used across the world as other groups turn their 3D printing skills to the effort.
To print, it is first converted from a 3D model to a ‘.gcode’ file. This is a set of instructions that tells the printer how to print. These include telling it exactly where and when to move the print head and bed, what temperature to set, and when to extrude the filament. If you are interested in learning more there is a further explanation here. We use software called Cura to ‘slice’ the model and create a ‘.gcode’ file. This is then loaded onto each of the printers using a microSD card. As we’ve found quirks with different settings, we’ve made several revisions until creating ones that work consistently.
Preparing the printers
Before we start any prints (usually a job done first thing in the morning or last thing in the evening for the next day), we make sure they are clean, the beds are levelled and that they have an adhesive spray called ‘Dimafix’ applied.
Bed levelling is an important step for print quality. If the print bed is not level, it can result in the nozzle being too far away or too close to the bed. This results in uneven or messy prints that are not suitable for use. As we are trying to produce as much PPE as fast as possible, it is vital to ensure we have as many high-quality prints and with as little waste as we can. Levelling is a job that can take a few minutes per printer, using a 0.2mm spacing tool included with the printers to check the distance between the nozzle and bed is correct.
Applying adhesive is also important – if the print does not stick to the bed sufficiently, it will ‘warp’ during the middle of a print, potentially causing it to fail or be of poorer quality.
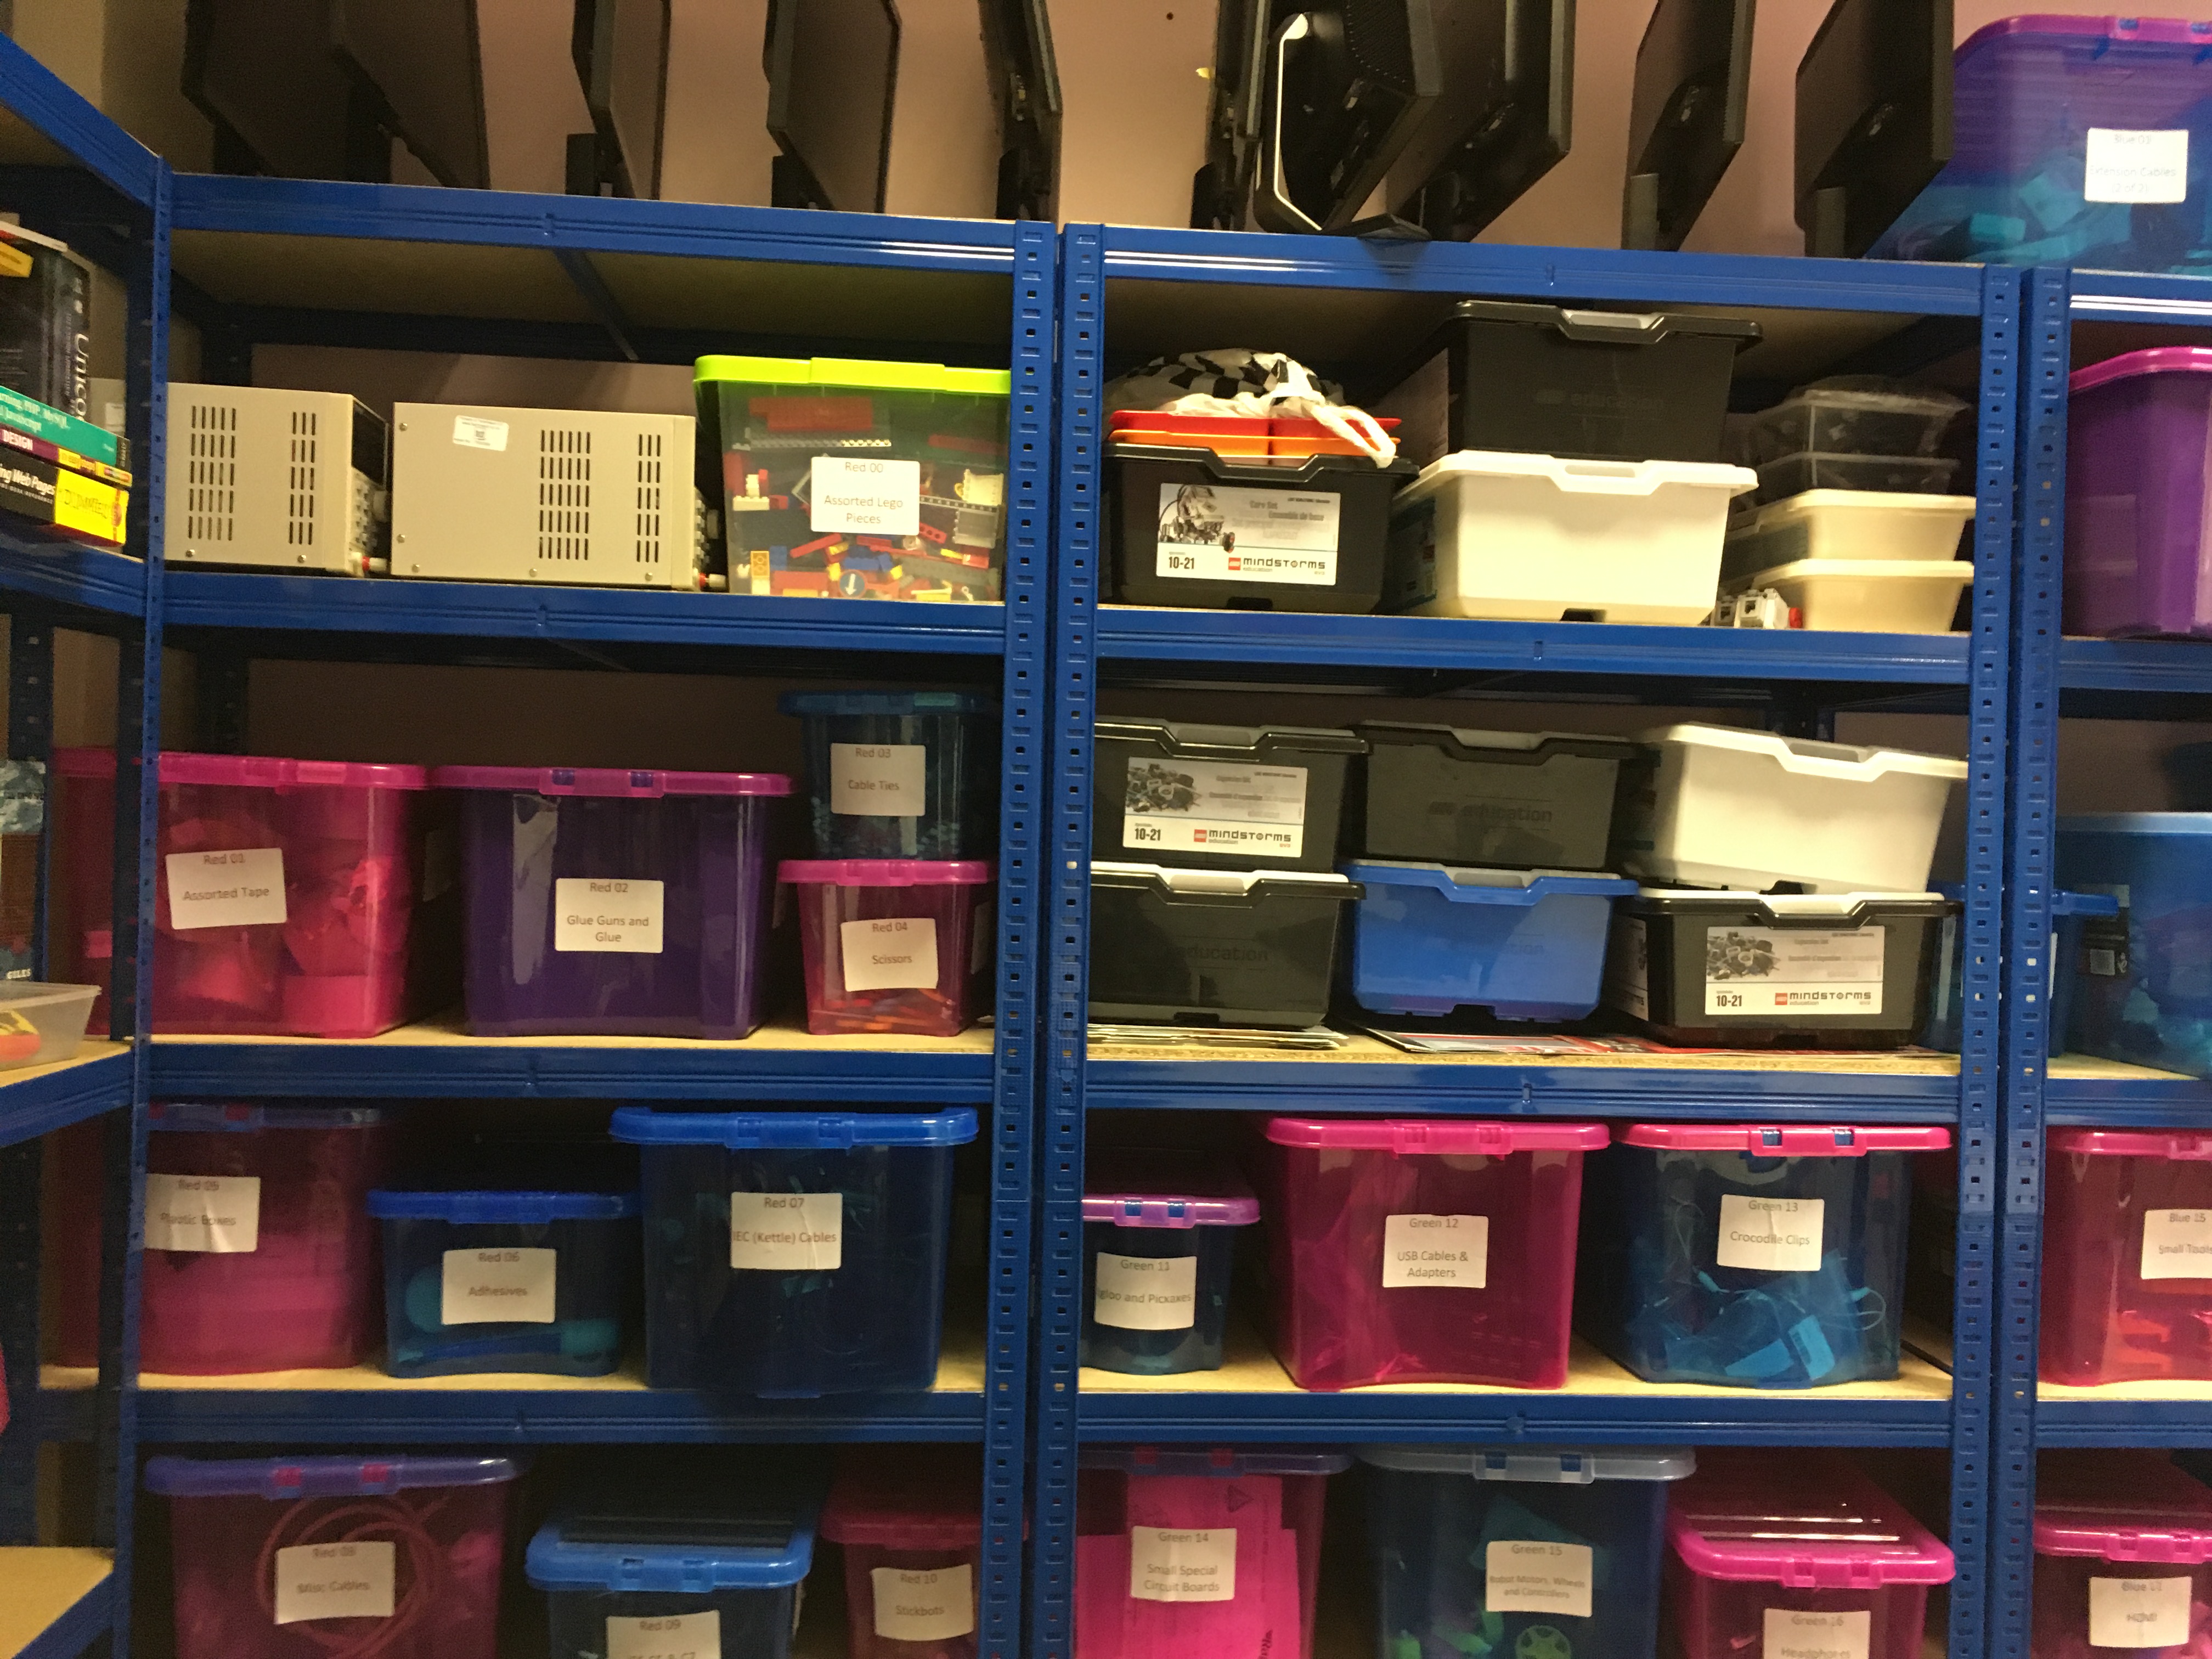
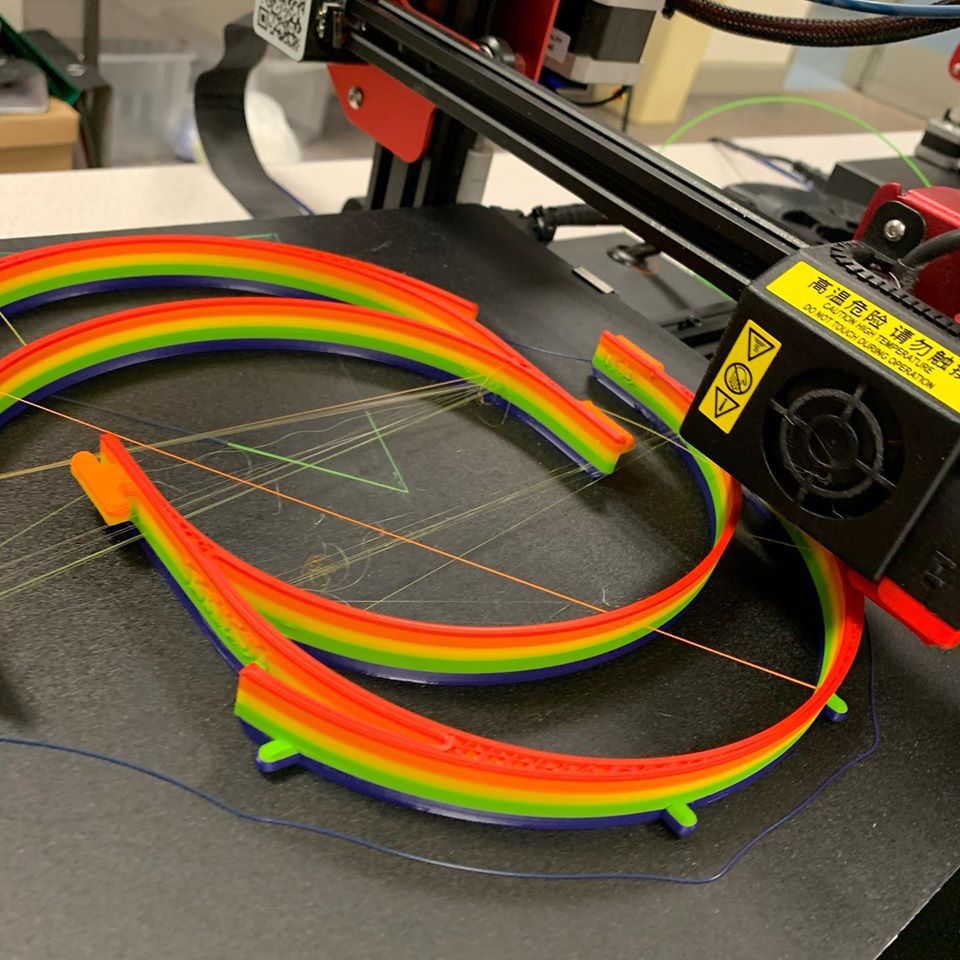
The last check we do before starting a print is to check that there is enough filament to run – due to low supply, we have had to use different brands and colours of filament. On the upside, this means that we’ve been able to make some rainbow headbands, but it has meant some difficulties adapting to different brands. We’ve used a type of filament called PLA – which is suitable for PPE as it is strong and can be cleaned with alcohol cleaner or warm soapy water – but we’ve noticed slight variations between models of filament. For instance, we’ve found that not all filament will work with our Up Mini printer, or that we can get better print quality with certain brands. Usually we can fix these issues by changing printer or model settings. This is where it is useful to keep track of information as we print.
Printing and fixing
We never leave the printers unattended, keeping an eye on them not only for safety’s sake but to ensure quality is good and there are no technical issues. Part of the training and upskilling process is to learn to identify and correct any issues.
This might involve changing the nozzle or bed temperature settings, or cancelling the print if it looks likely to fail. While we have made the process as reliable as possible, and use identical machines, there are still inevitably quirks in the process that need addressing. Sometimes restarting a print can fix issues, and results in less wasted filament.
Other times, printers are taken out of action until one of our experienced elves can repair it and we encourage all our team to get to know more about the process.
Logging our progress
In our print room is a whiteboard with contact details for all our staff as well as information about the printers. We note details such as how long models should take to print, when filament was last changed, when adhesive was last applied. This allows us to see at-a-glance if there is an issue and to keep track of how much material we are using.
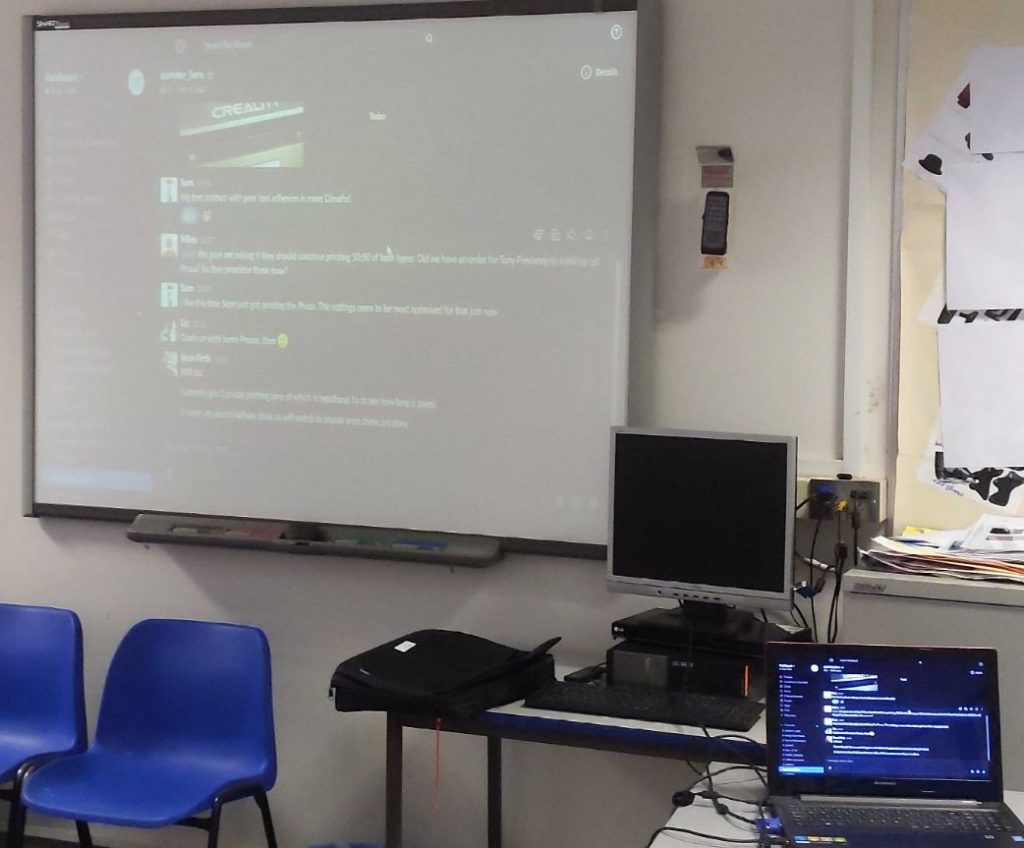
As for digital communication, we use a commonly-used app called Slack to keep everyone up-to-speed. On here, any printer issues are noted along with photos or videos to aid diagnostics and keep track of shifts and orders. It’s also important that if we have a malfunctioning printer, our team of ‘farmhands’ know how to proceed.
A laptop is set up in both the print farm and QA room, and both have connections to our network attached storage, where we keep a production spreadsheet. This allows us to log every headband pack made, and uses formulae so we can tell at-a-glance how many we have. This means when orders arrive, it is quick and easy to update our records and we know exactly how much stock we have.
It’s these sorts of tools and skills that often get overlooked when starting a project but are vital cogs in the wheels of the farm. We could not function as efficiently without them, even if they aren’t the stars of the show.
Quality assurance and packing
Once a print is complete, it is placed straight into a ziplocked bag and taken through to the second of our clean rooms, the QA room. Sometimes there are slight bumps on the surface of the print, and these can be easily removed with a blade. If we notice a pattern of poor quality prints from a certain machine or brand of filament, it will be detected and noted at this stage. Every headband is cleaned thoroughly – and checked to ensure there are no defects that would make it uncomfortable to wear – before it is packed.
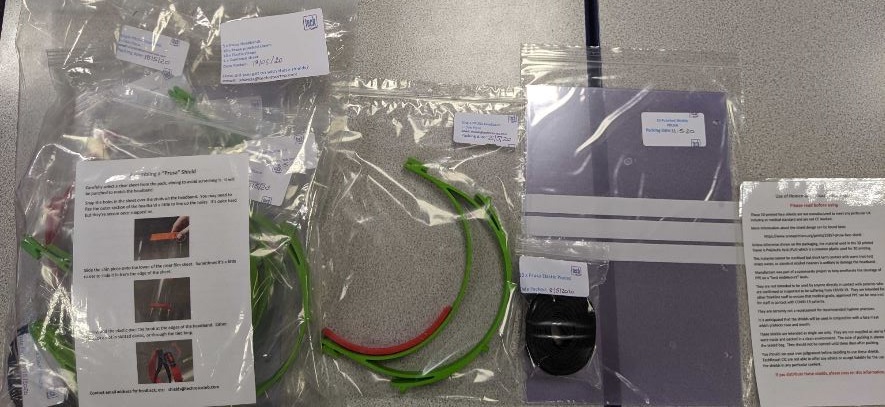
It can then be packed to form a larger pack ready for dispatch – we include 5 Prusa headbands and chin straps, 10 acetate sheets, 10 pieces of elastic and an instruction sheet for assembly. Another job is to count, punch and cut these into the correct size and quantity so they are always ready, speeding up the process.
In a full day of printing, assuming there are no printer failures, we can usually produce around 40 Prusa headbands. At the end of each day, everything is turned off and cleaned down ready for the next day when the farm will whirr into life once again.
Final thoughts
While we have been lucky to have our existing skills, elves and volunteers, every day poses a new and different challenge. It has been an incredible effort to get to this stage and to have filled the gap (harnessing the power of tech) when keyworkers have needed equipment the most. We will keep going for as long as there is a need.
If you or your business is in need of PPE, please email shields@techresorteb.com